Deploying Agno AI Agents on Render.com (Without the Hassle)
Step 1: Cloning the Repo
git clone https://github.com/agno-agi/agent-api.git
cd agent-api
The README is super clear, so I didn’t have to hunt around for what to do next.
Step 2: Setting Up on Render.com
Database Setup
- I created a new PostgreSQL instance on Render.
- Grabbed the connection details (host, port, user, password, database name).
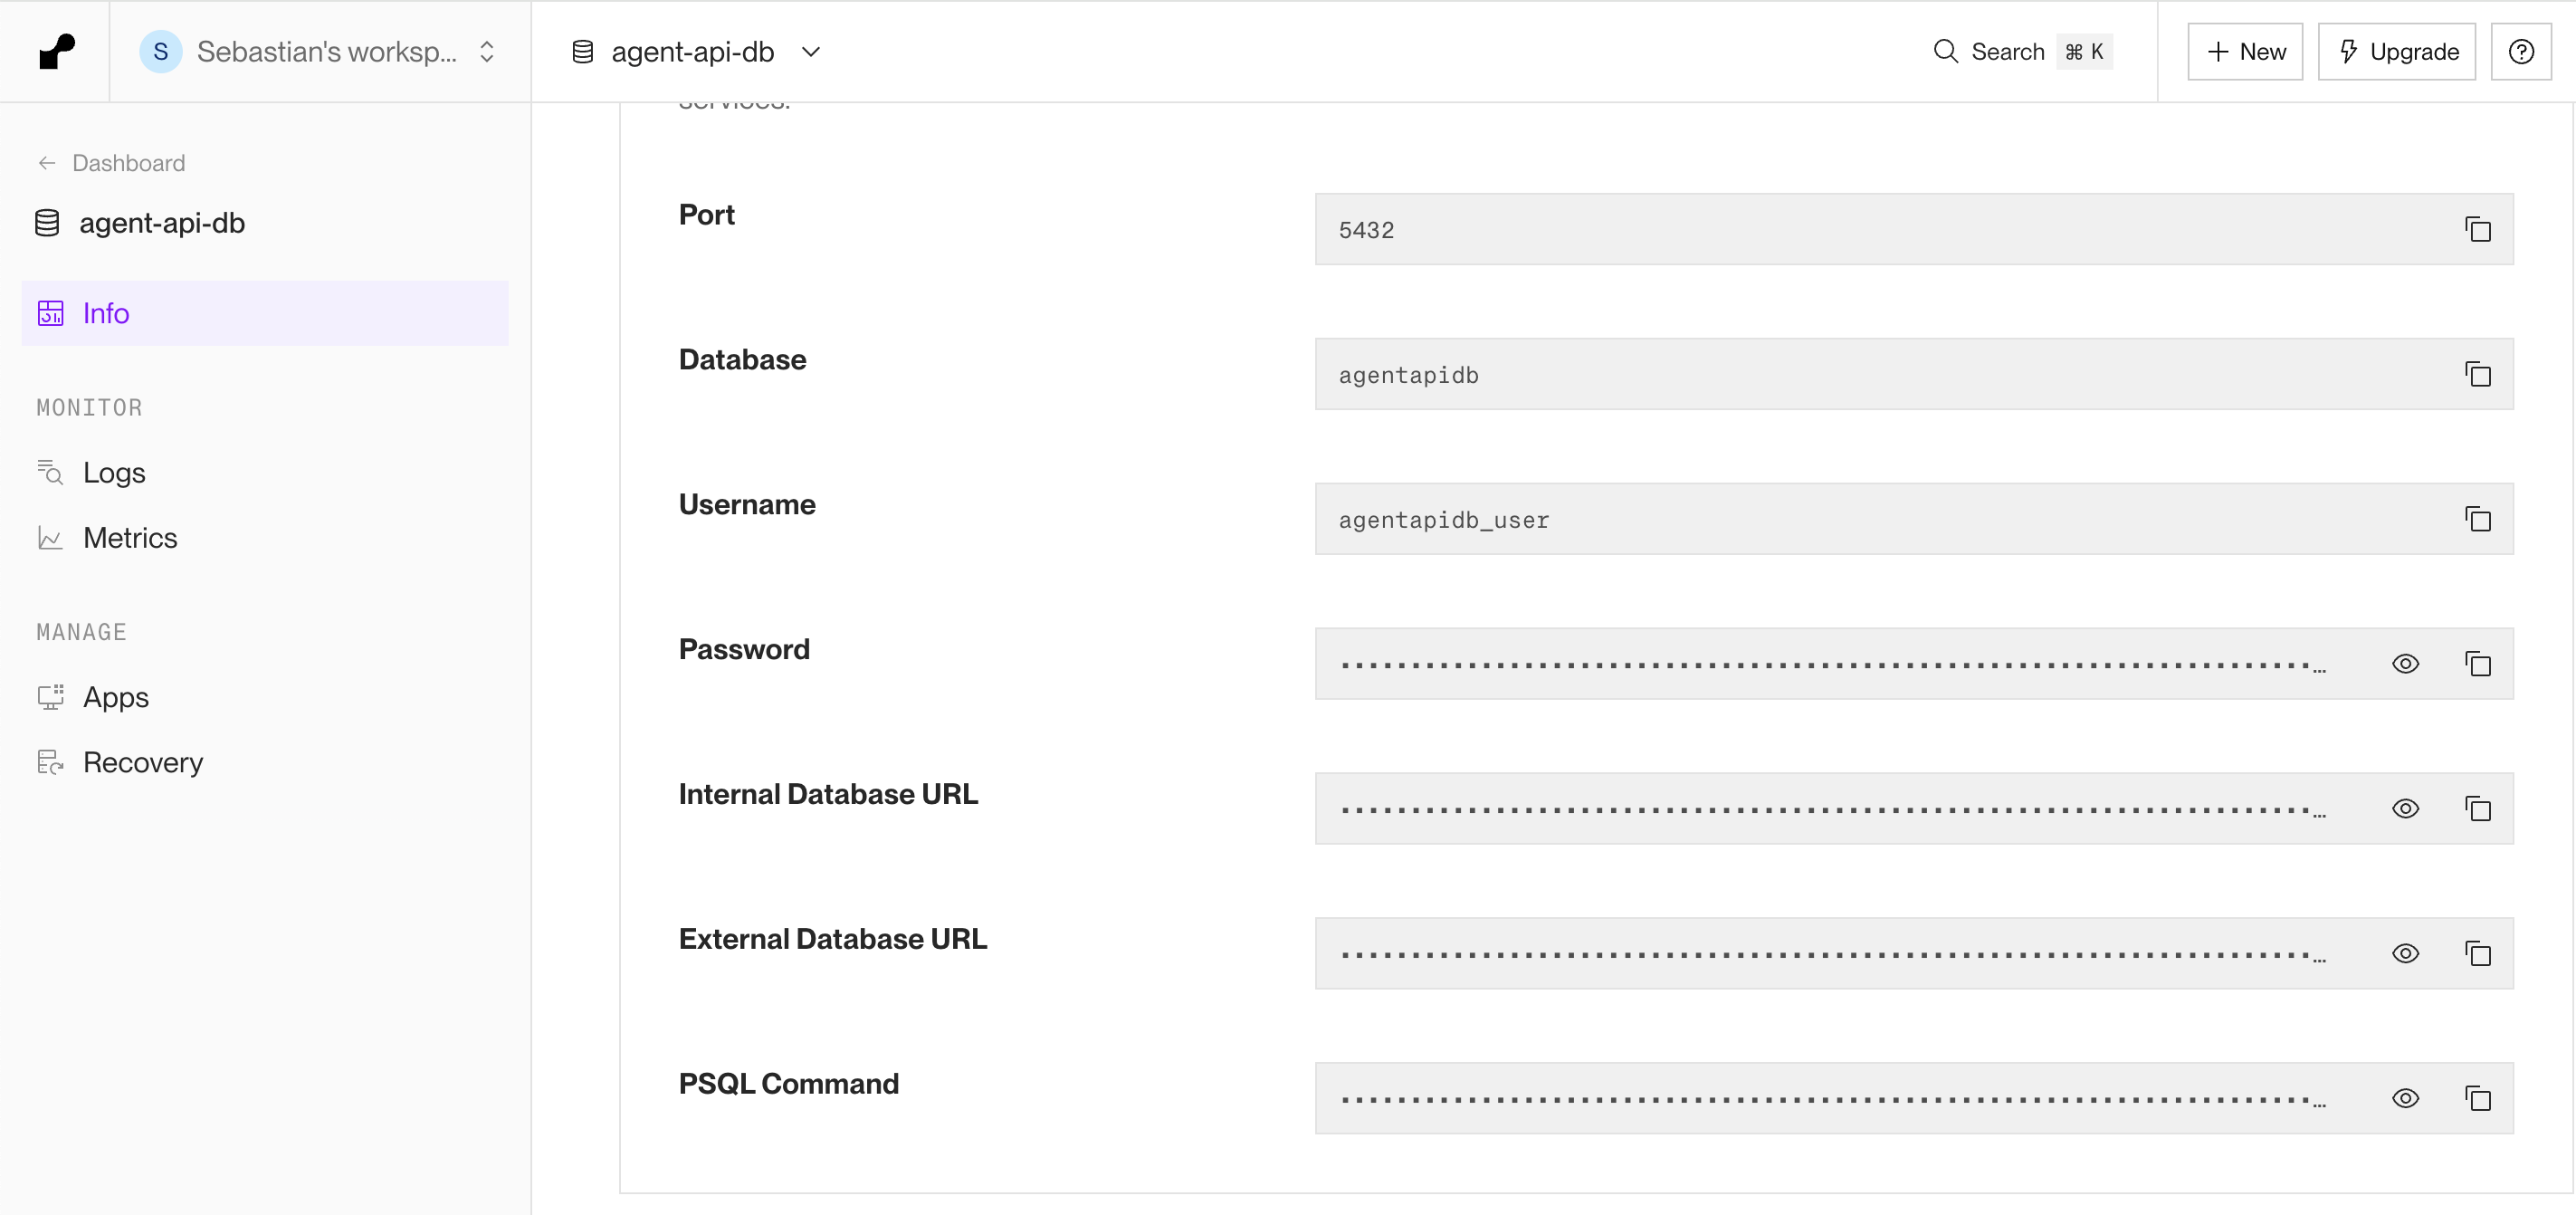
PostgresDB on Render with all the connection details
Web Service Setup
- Created a new Web Service on Render, pointing to my Docker image (built from the repo, see step 3).
- Set the following environment variables in the Render dashboard:
- OPENAI_API_KEY
- PORT (set to 8000)
- DB_HOST, DB_PORT, DB_USER, DB_PASS, DB_DATABASE (from my Render Postgres instance)
Step 3: Building and Deploying
docker compose up -dFor Render, I needed to build and push the Docker image to Docker Hub.
Before building the Docker image, I edited the scripts/build-image.shfile to set my Docker image name and tag:
IMAGE_NAME="[YOUR DOCKER HUB USER NAME]/[YOUR DOCKER HUB REPO NAME]"
IMAGE_TAG="v1.0.0"./scripts/build_image.shThen, I pointed my Render Web Service to the new image. If you change your agent code, just rebuild and push the image, and redeploy on Render (you can also configure Render to redeploy automatically on every image update).
Step 4: First Run—And a Gotcha

uvicorn api.main:app --host 0.0.0.0 --port 8000Step 5: Success!
With the service running, I could access the FastAPI docs at https://<my-service>.onrender.com/docs.
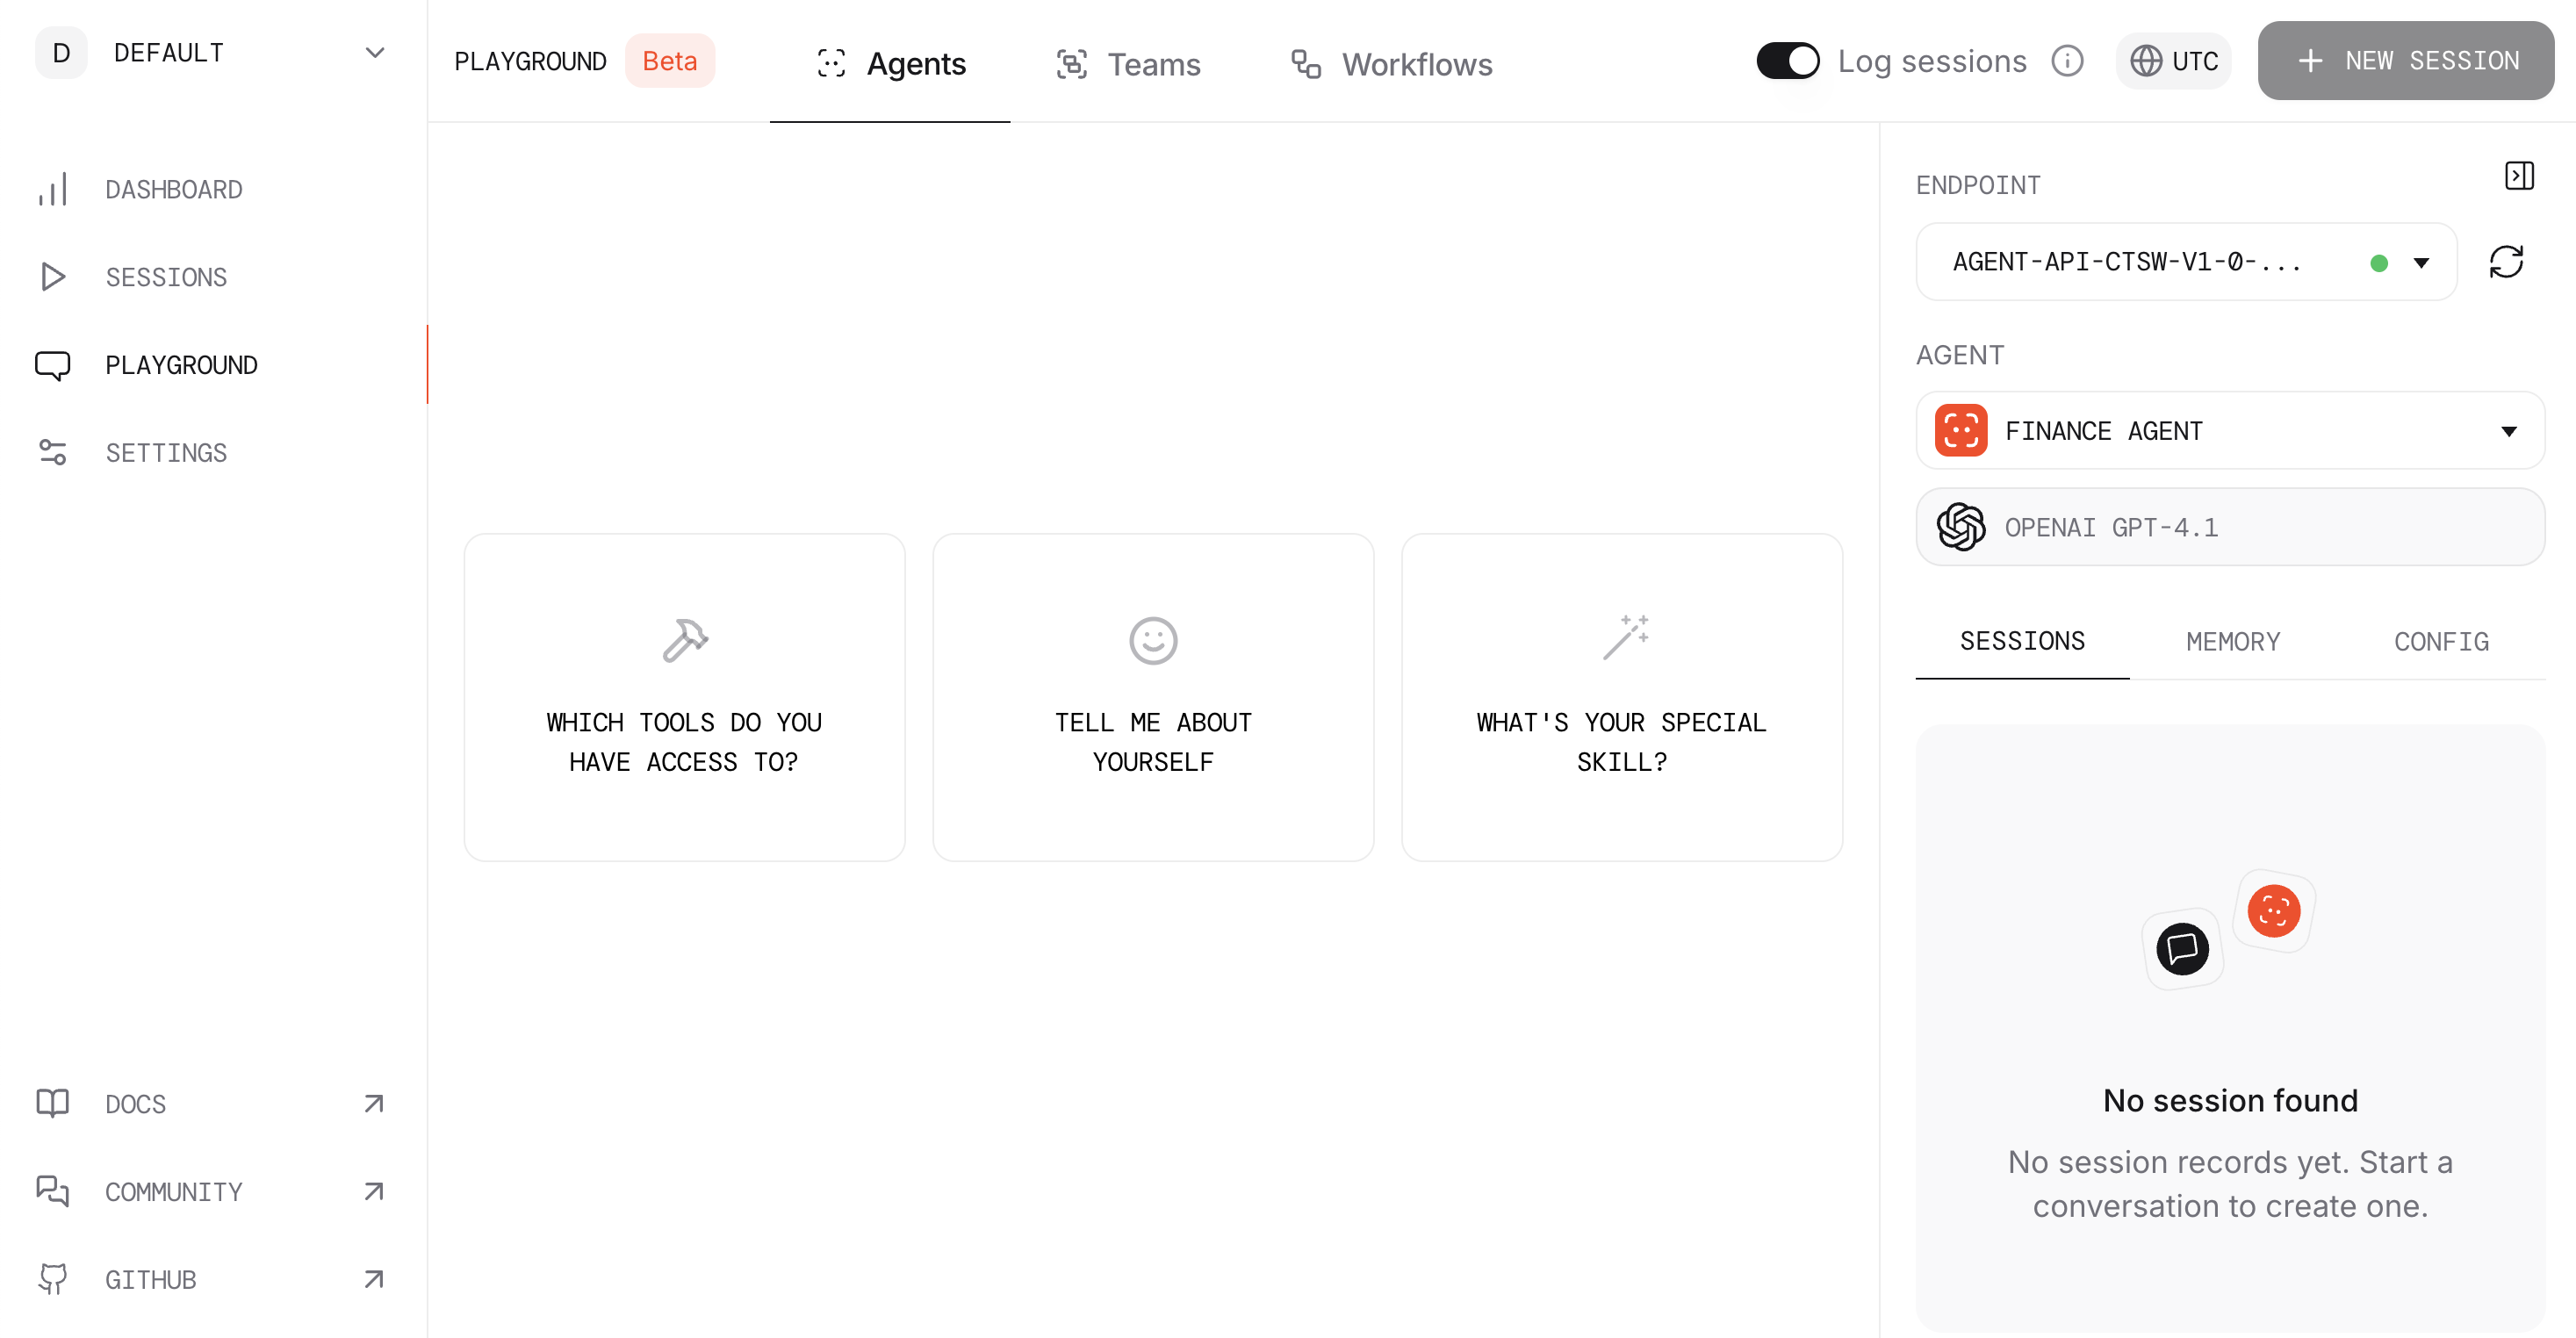
Connecting to the Agno Playground was as simple as adding my endpoint:
Deploying agents used to be a pain, but this setup made it genuinely easy.